how I designed the Alphabet boxes:-


Where the Idea came from ?!
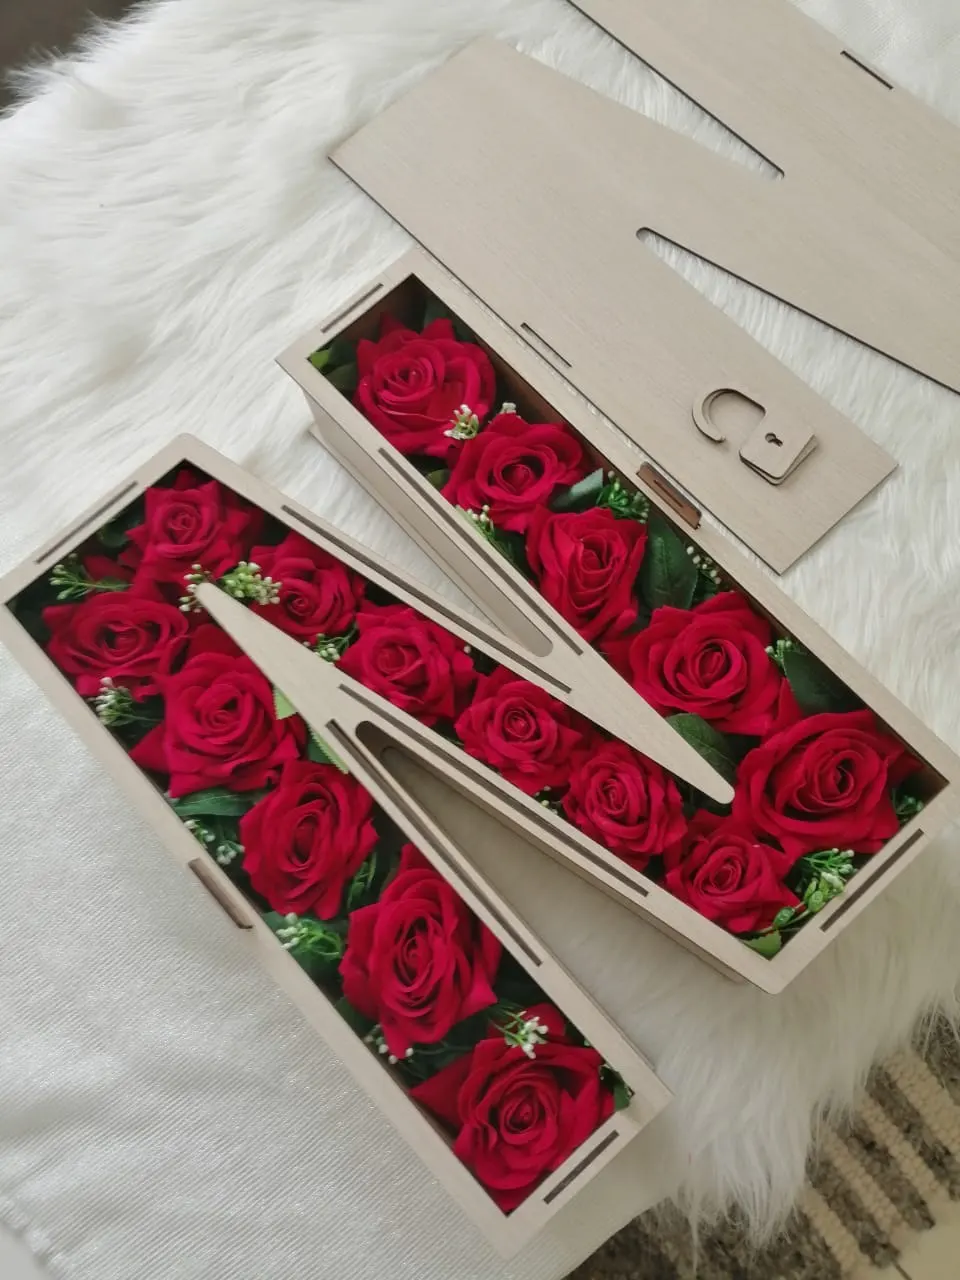
A couple years ago, a client asked me to design a gift box in the letter (A) shape, he wanted it in 30cm width and 40cm length with 8cm height.
The finished box was outstanding, so I decided to design the whole Alphabet boxes for no reason but feeling satisfied to design these boxes.
After a couple weeks I published the design on my Etsy store (you can find it here)  and the result was amazing, then one of my best customers asked me to design a smaller version of it to fit in the small laser machines and to have a new option of the finished boxes with lower price, so I designed it in 25cm X 19cm with 5 cm height and again the selling result was amazing (you can find it here)
 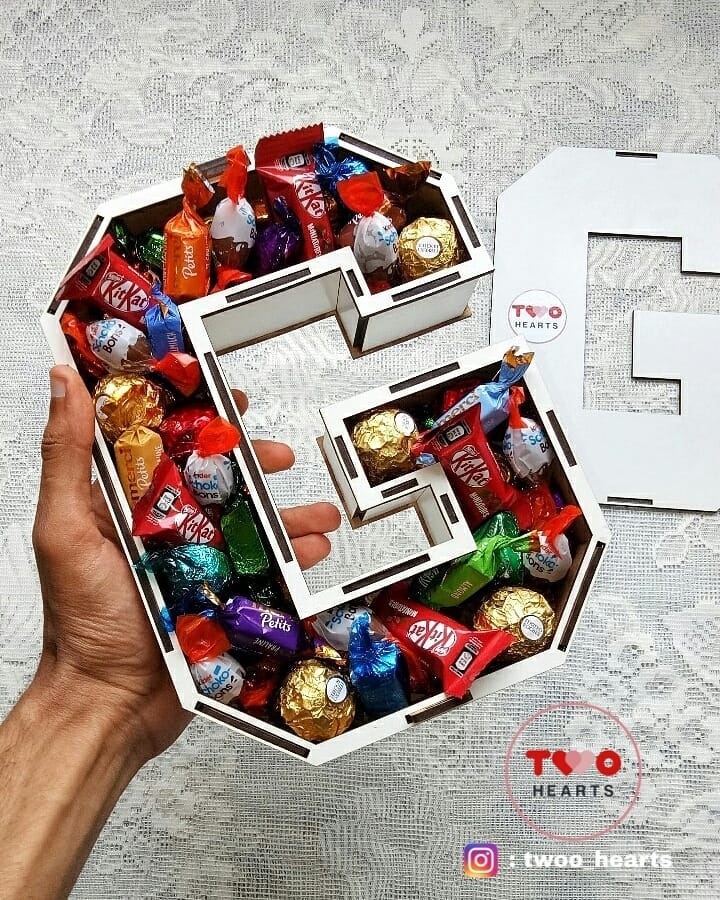 that encouraged me to design the numbers boxes in both sizes the big one (you can find it here)
 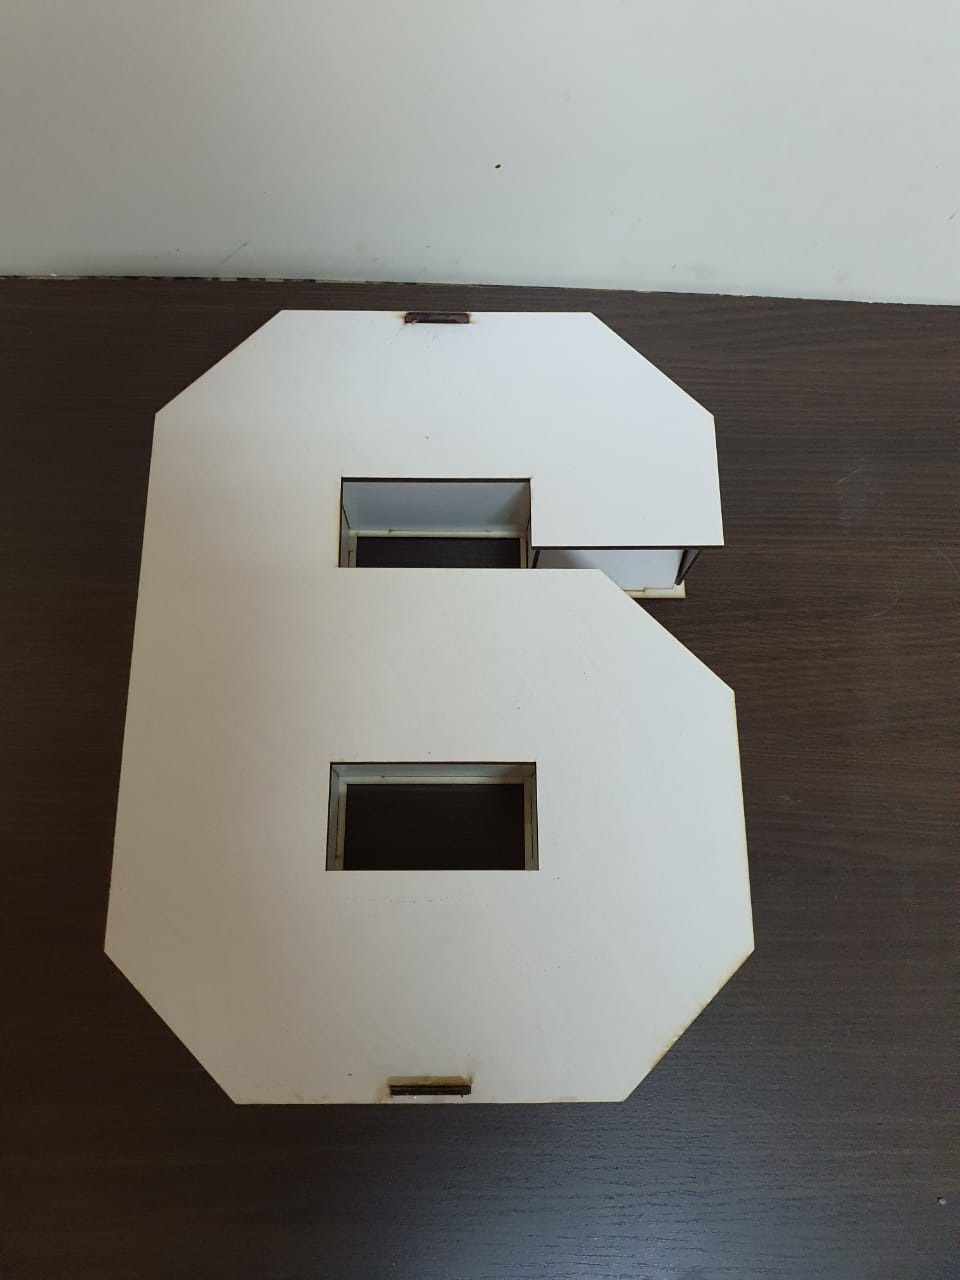 and the smaller one (you can find it here).
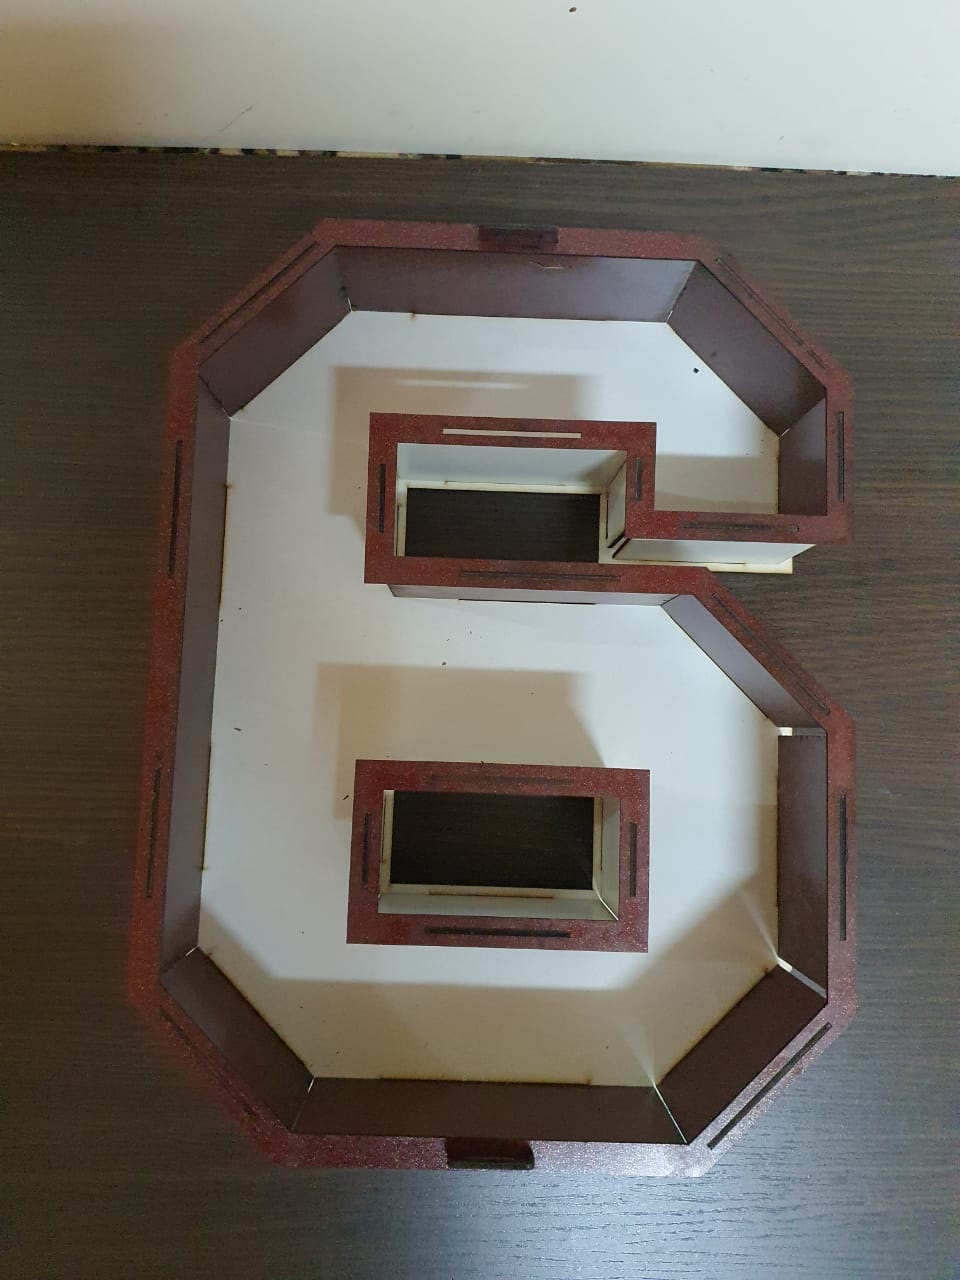
the process
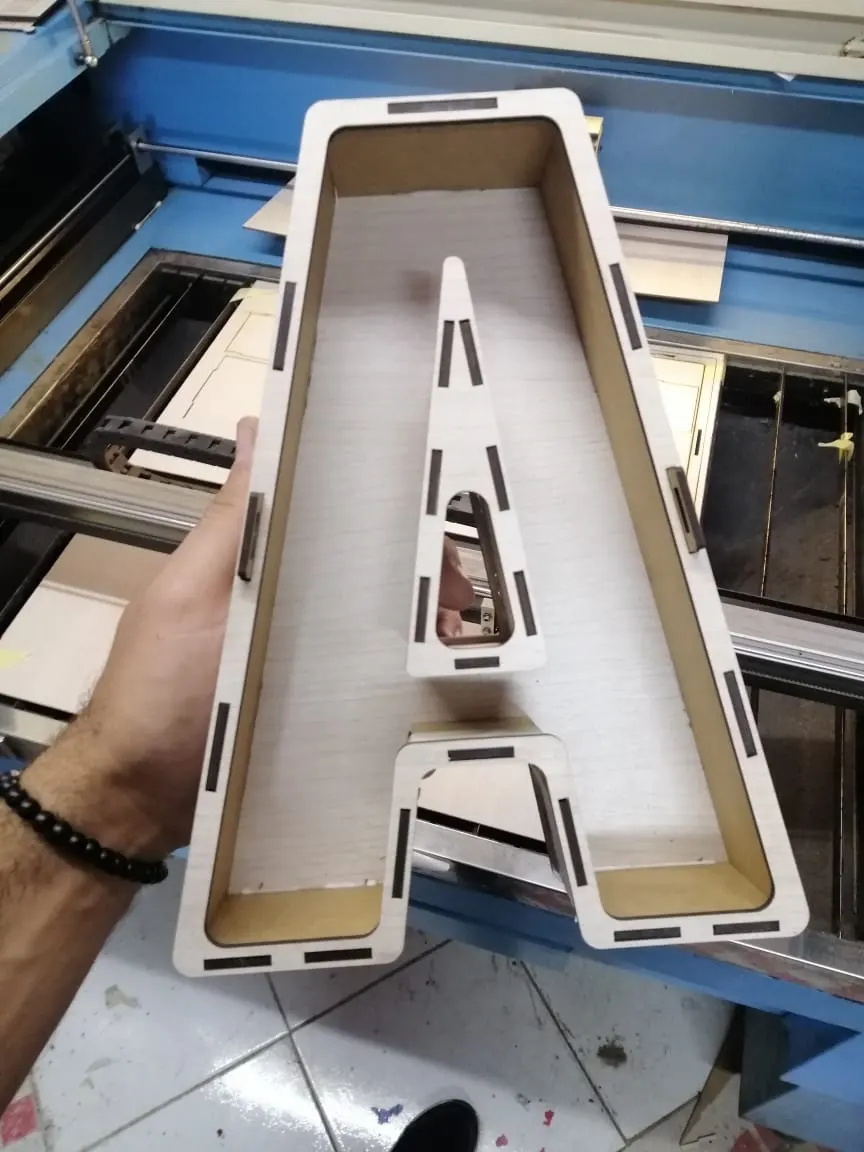
Back to my steps to design the A box, I used Adobe Illustrator to make a reference for me because I wanted the boxes to look exactly like alphabet, then I dived into AutoCAD (my favorite software to design laser cutting and engraving designs for laser machines in DXF file format), I started with changing the measurement units in millimeters, then I drew a 30cm X 40cm rectangle as boundry to the box then drew the (A) shape outline and took into account to make the inner width of the box to be 10cm wide at least. You can watch the whole process in this video. Now is the time to make the sides. I decided that sides shouldn’t be on the edge but to inset it for about 5mm to inside. This method makes assembling the box much easier and stronger, so I offset the outline with 5mm and then I offset this guide line again but this time with the amount of the material thickness I use, deciding the thickness of the material is very necessary in this step. These two lines are guide lines, I use them in two things, 1st one to know the length of each side exactly, 2nd one the interlocks will lay between these two lines. I start measuring each side then draw the side with length I measured and with 8cm height. After that I started drawing the interlocks using the material thickness then copy and place them carefully between the two guide lines. After doing this step now we got the base and the sides. Then we start to prepare the frame which is the a copy of the base but after offsetting the inner guide line with 5mm and that’s it !! Finally the cap which is the base without the interlocking holes. Don’t forget to get rid of the guide lines. Then I save the file in DXF format and open it in Adobe Illustrator to export it in all available formats like SVG, PDF, AI and EPS. Now go to your laser cutting machine or glowforge and open the suitable format for your laser machine software and have fun adding engraved pictures or name for the top cap.